Today I will share with you how to convert MTS, TS, M2TS video to normal video formats.
You need 3 nice tool to do it: MTS Converter, TS Video Converter ,
M2TS Converter.
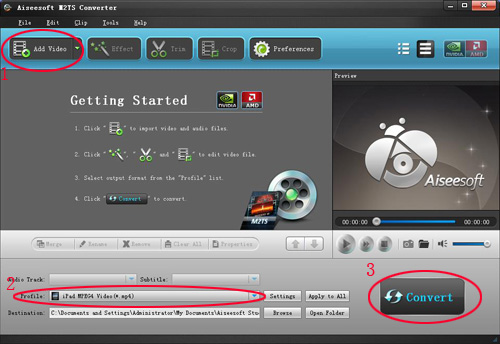
Part 1: How to convert MTS video
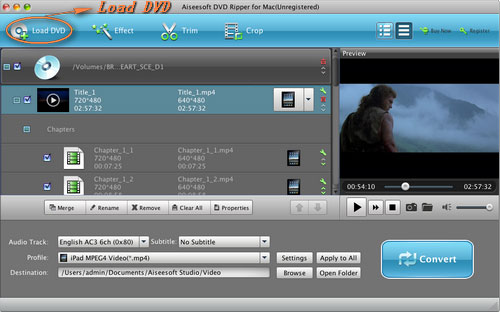
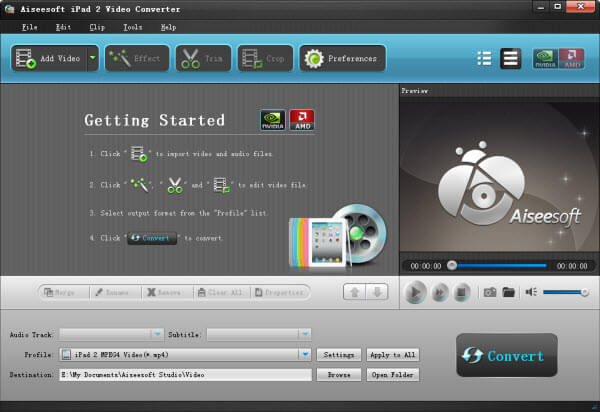
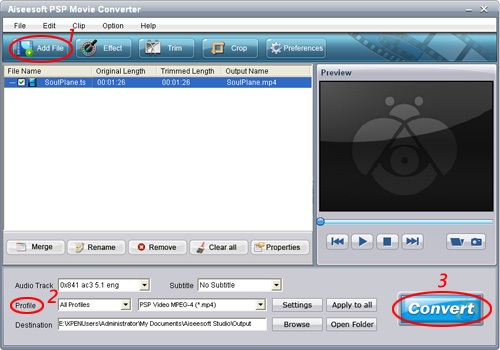
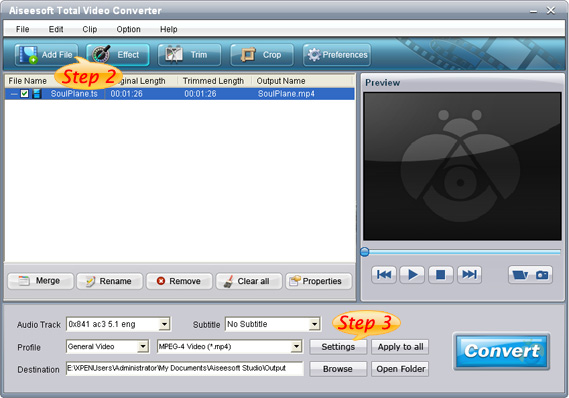
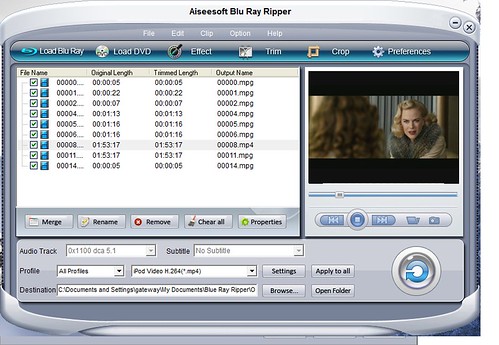
Step 1: Load Video
Click “Add File” to load the video that you want.
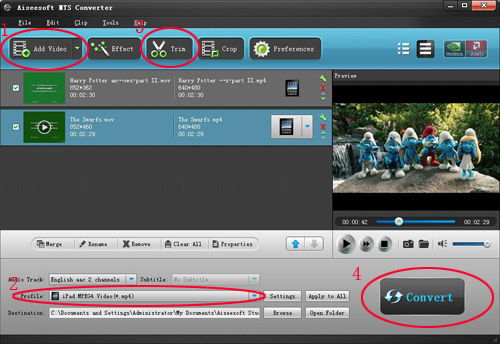
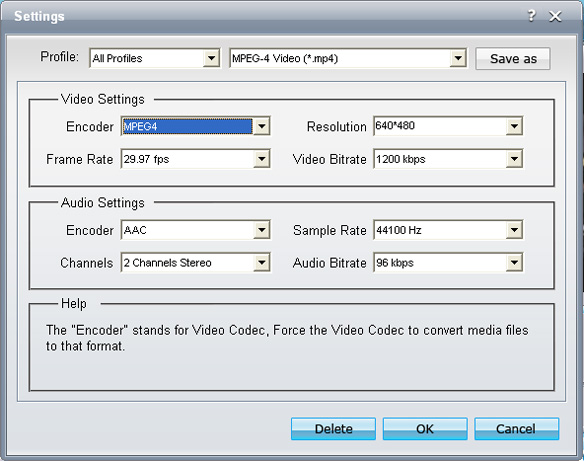
Step 2: Choose Your Output Profile and Settings
From “Profile” drop-down list you can choose your output profile according to your need.
For example, if you have a iPod and you want to convert video for it, you need to choose “iPod” from the profile list and then it also provides the second chance to specify your iPod generation.
You can also click “setting”adjust the settings of your output video, such as “video/audio encoder”, “Video/audio Bitrate”, “Channels”, “Resolution” and so on..
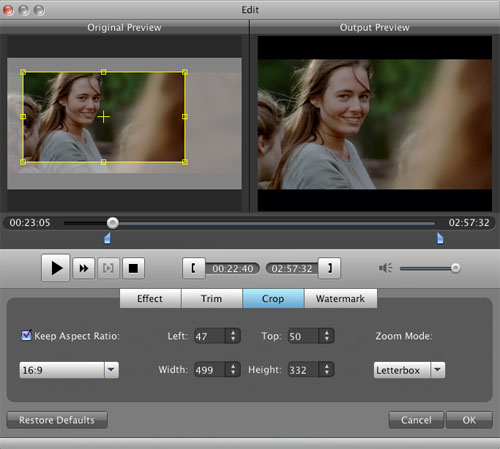
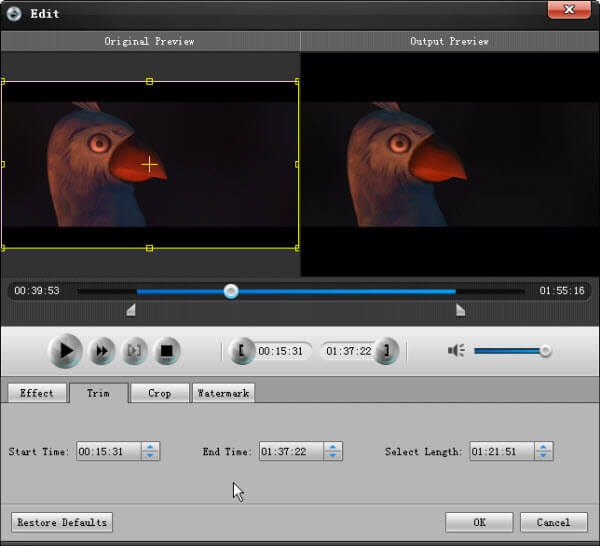
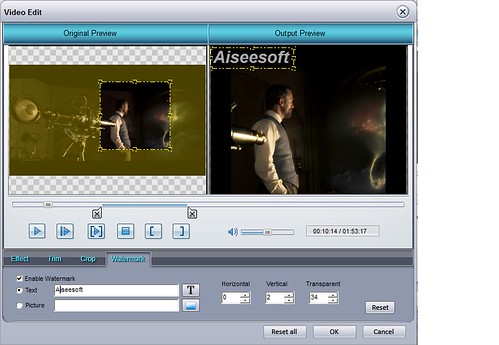
Step 3: Video Editing
This powerful MTS Converter allows you to do many video editings.
1. Click "Effect" to make special effect for your movie.
You can adjust the “Brightness”, “Contrast”, “Saturation” and also you can use “deinterlacing” to improve you output effect.
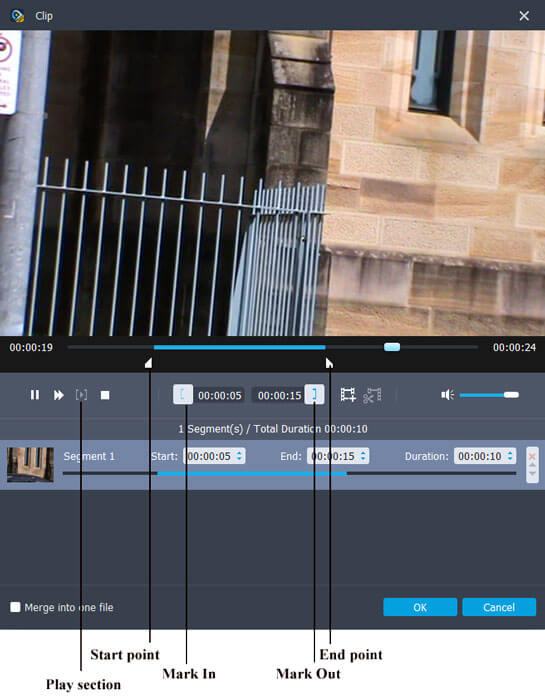
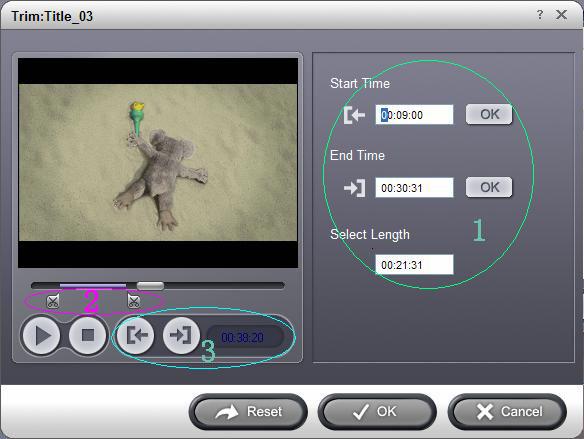
2. Trim:
“Trim” function allows you to pick up any part of your video to convert. You can just convert a part of your video that you want.
3: Crop:
Cut off the black edges of the original movie video and watch in full screen on your iPod using the "Crop" function.
Step 4: Conversion
After you have done all the steps above you can click “Start” button to start your conversion.
Part 2: How to convert TS video
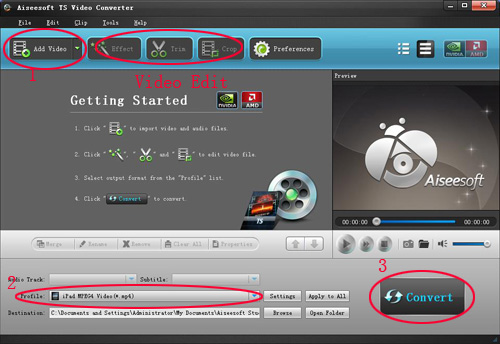
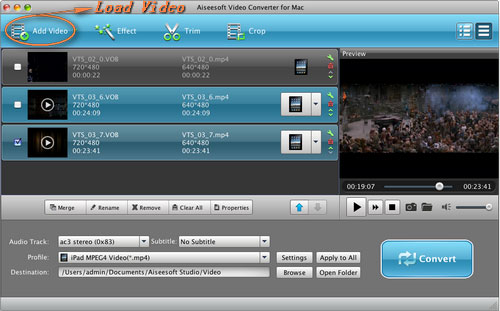
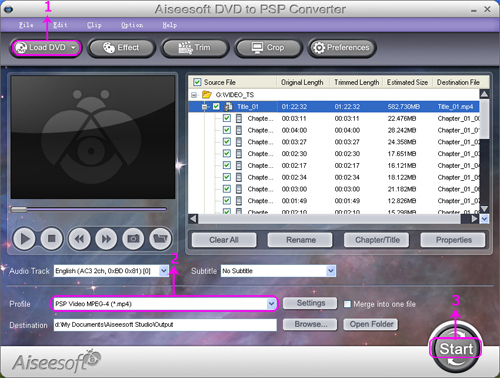
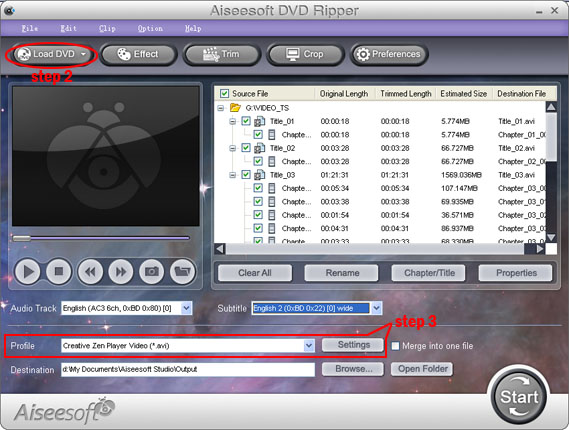
Step 1: Load Video
Click “Add File” to load the video that you want to convert.
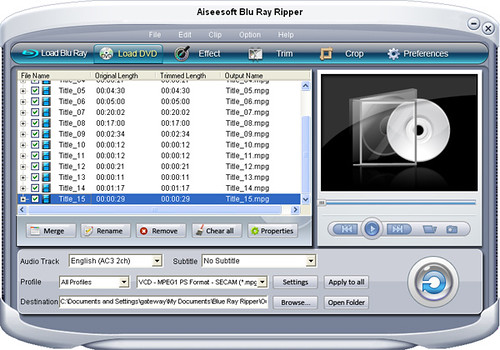
Step 2: Choose Your Output Profile and Settings
From “Profile” drop-down list you can choose your output profile according to your need.
You can also click “setteing”adjust the settings of your output video, such as “video/audio encoder”, “Video/audio Bitrate”, “Channels”, “Resolution” and so on..
Step 3: Conversion
After you have done all the steps above you can click “Start” button to start your conversion.
Tips: Video Editing
This powerful TS Converter allows you to do many video editings.
1. Click "Effect" to make special effect for your movie.
You can adjust the “Brightness”, “Contrast”, “Saturation” and also you can use “deinterlacing” to improve you output effect.
2. Trim:
“Trim” function allows you to pick up any part of your video to convert. You can just convert a part of your video that you want.
3: Crop:
Cut off the black edges of the original movie video and watch in full screen on your iPod using the "Crop" function.
Part 3: How to convert M2TS video
Step 1: Add File
Load your M2TS video.
Step 2: Choose Profile and Settings
Select your output profile according your need and adjust the settings of your output video if you like.
(the default setting works well)
Step 3: Start Conversion
Click “Start” to begin your conversion.