As one of iPod fans I will intorduce iPod users a really nice way to put their DVD on their iPod.(Windows/Mac)
Part 1. For Windows user:
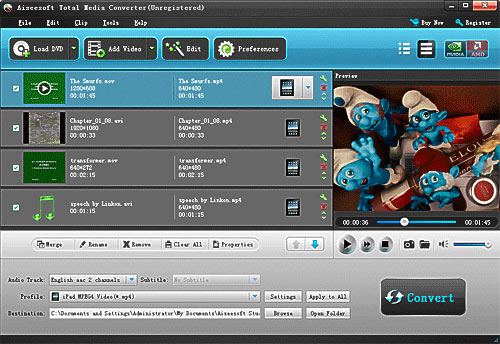
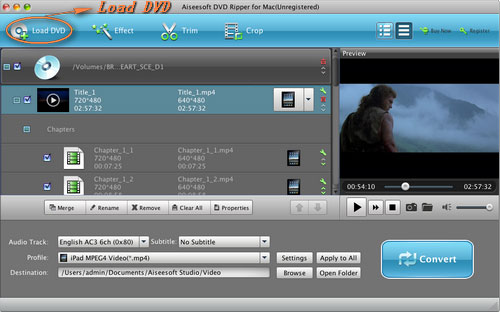
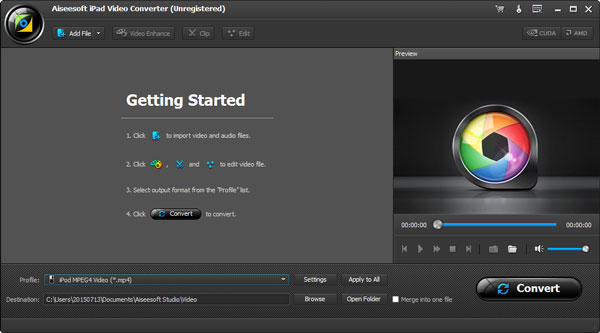
Step 1. Load your DVD
Install and run Aiseesoft DVD to iPod Converter
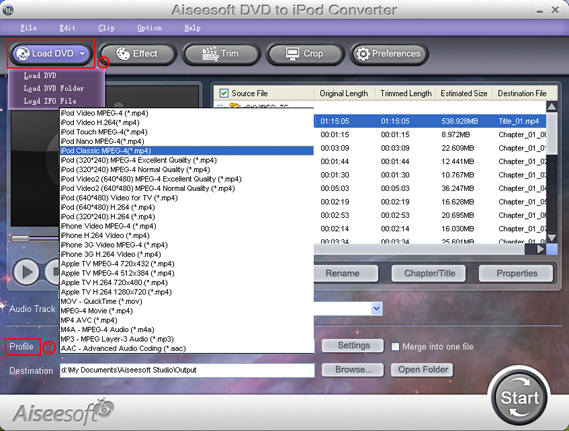
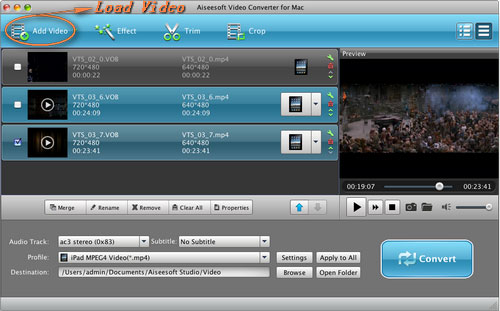
Open your DVD drive and put your DVD in it. Click “Load DVD” button and choose “Load DVD”. (There is 2 more ways you can load your file, “Load DVD Folder” and “Load IFO”)(1)
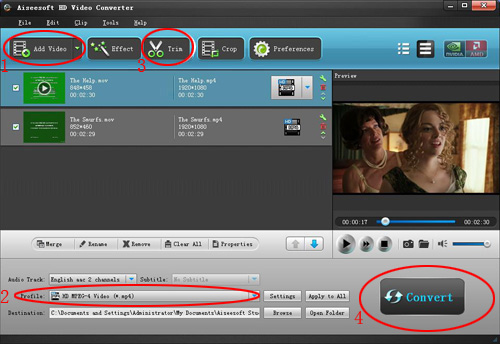
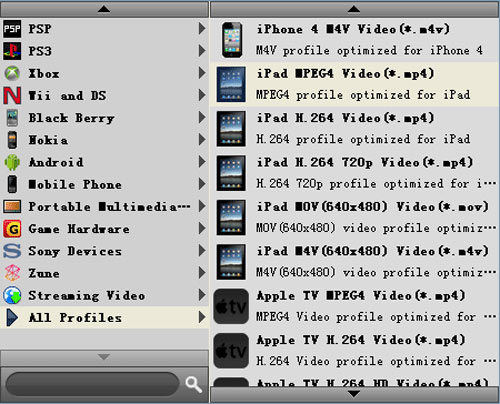
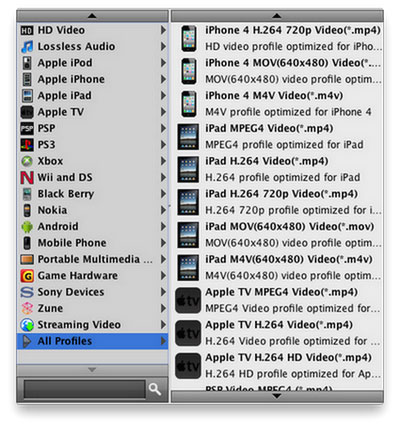
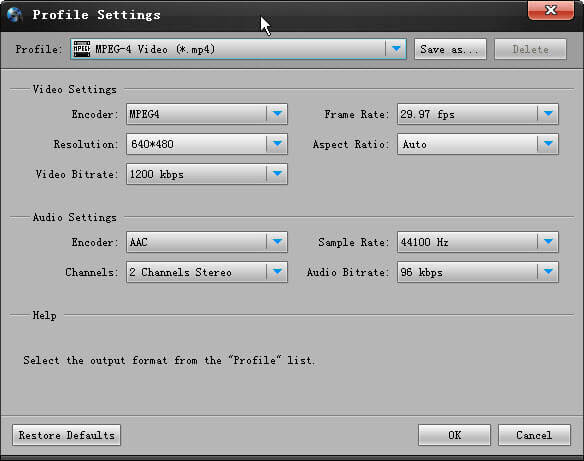
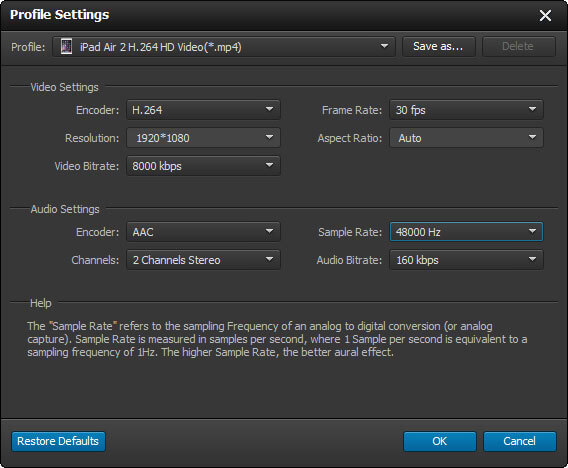
Step 2. Choose your output profile and adjust your output settings
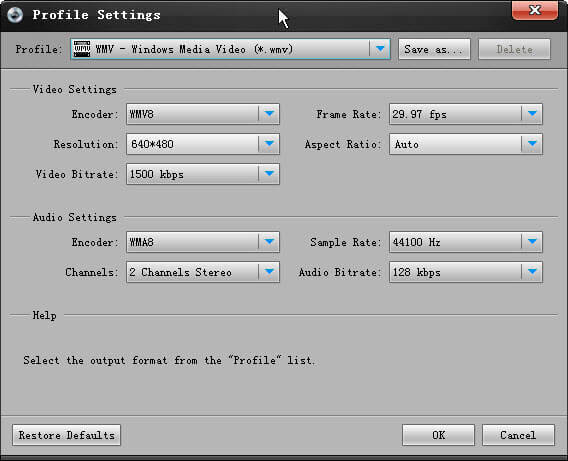
After you load your DVD into it, please choose your output profile according to your iPod. It provides many different profile for you.(2)
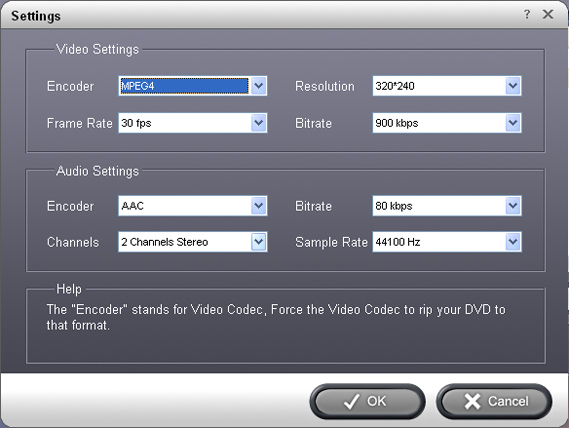
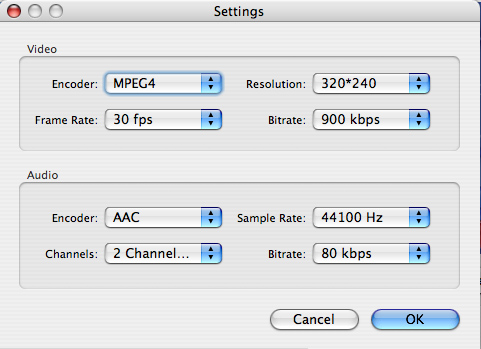
Then you can adjust your output video’s settings by clicking “Settings” button.
After doing the 2 steps you can click “Start” button to begin the conversion.
Tips:
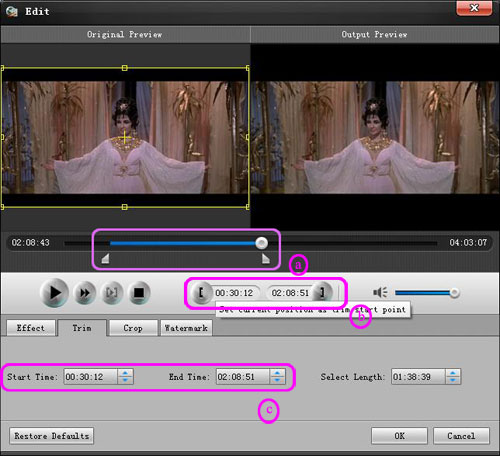
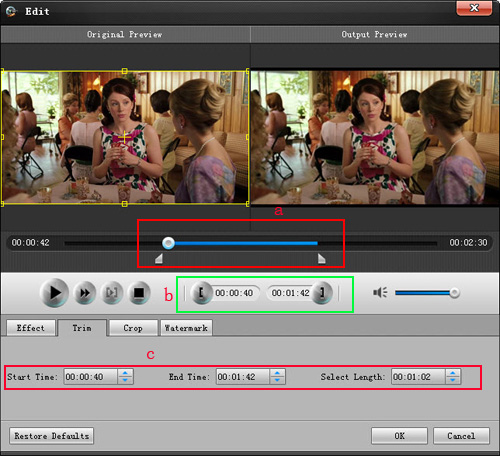
1. Trim:
Three ways to do trim:
a. Drag the “start scissors bar” button to where you want to start and “end scissors bar” button where you want to end (1)
b. You can click the “Trim From” button when you want to start the trim during your preview and click “Trim To” button when you want to end.
c. Set the exact “start time” and “end time” at right part of the trim window and click “ok”
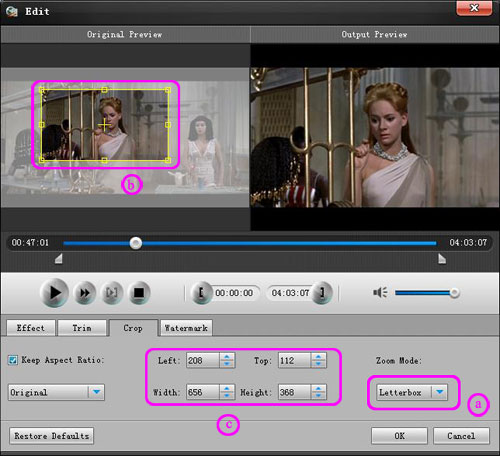
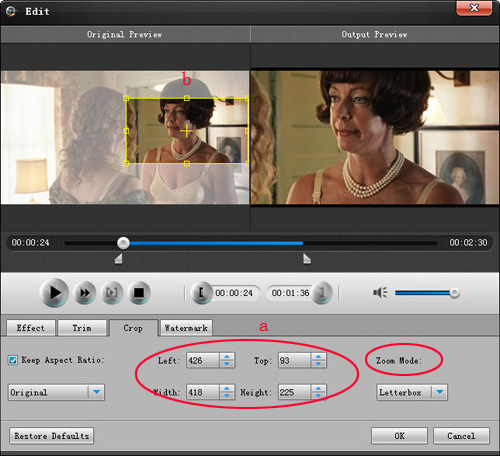
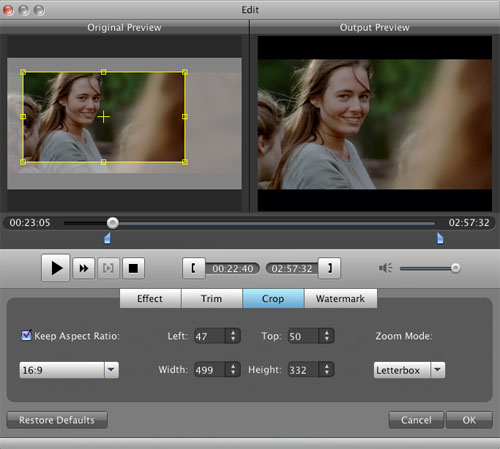
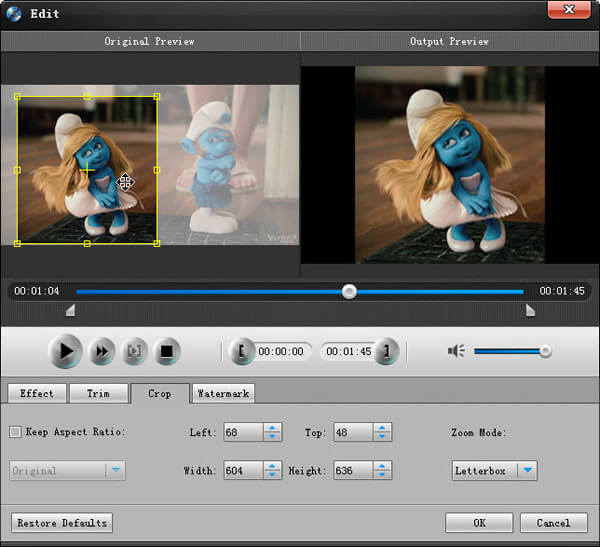
2. Crop:
Three ways to do crop
a. Select one crop mode from the “Crop Mode” drop-list.
b. Dragging crop frame to choose your own crop.
c. Set your own crop value.
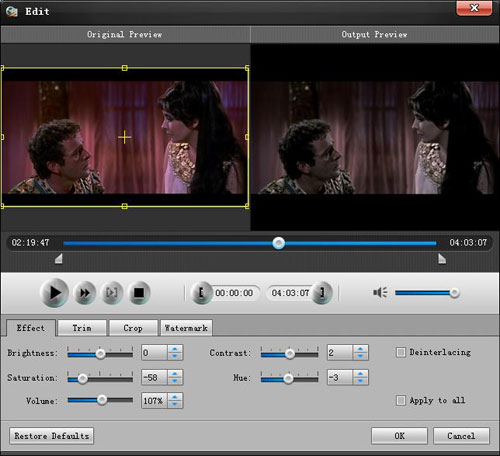
3. Effect
Drag the adjustment bar to find your favorite effect of Brightness, Contrast, Saturation and Volume.
4. Select audio track and subtitle
Select the audio track and subtitle from the drop-list window under the preview window.(1)
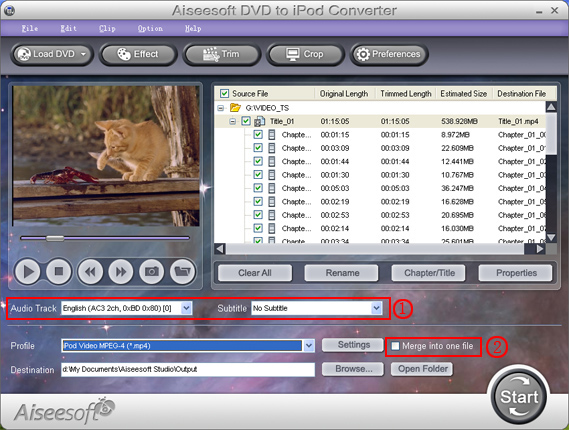
5. Merge into one file.
Pick the “Merge into one file” to merge the files you choose into one output file.(2)
Part 2. For Mac user:
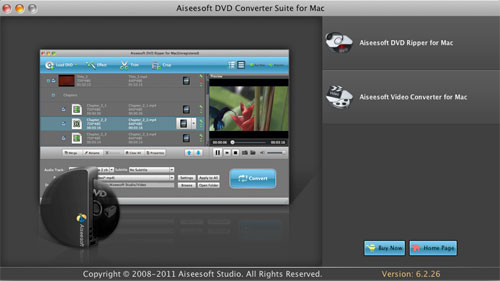
For Mac users there are not many nice DVD to iPod converter to use but Aiseesoft
DVD to iPod Converter for Mac is really nice. Its conversion quality and speed are much better than other Mac DVD to iPod converter on the market and its video editing functions is its another charm. With it you can smoothly customize your own video effect by doing trim, crop, and adjust the effect of your output video. And you can also preview the effect of your output video and choose subtitle and audio track and you can also merge titles and chapters into one output file.
Download Aiseesoft DVD to iPod Converter for Mac
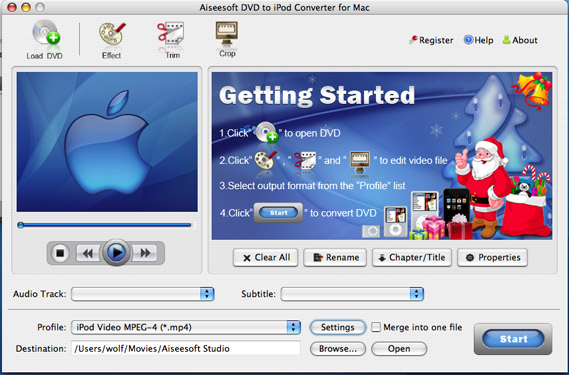
And for Aiseesoft DVD to iPod Converter for Mac, the process of doing Trim, Crop and adjusting Effec and other functions is the same as in windows.
If you own iphone, you can try Aiseesoft DVD to iPhone Converterand DVD to iPhone Converter for Mac

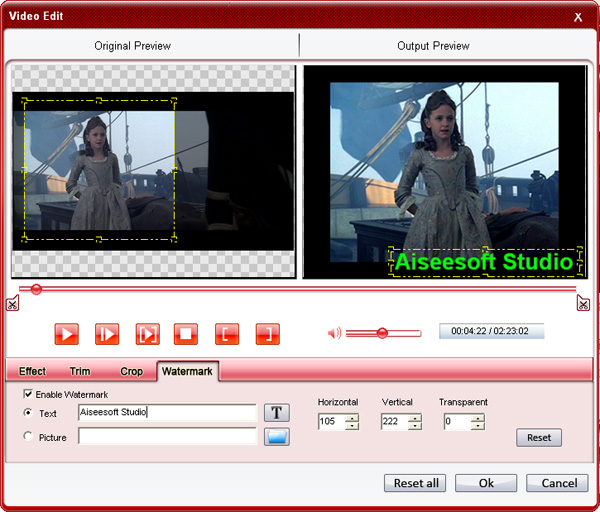


 . Then you can output it to a single video file. There are other useful editing functions, such as trimming, cropping and watermarking video.
 button to start the AVI to iPad conversion process.